Hygiene, preparation, and storage

Cleaning and Disinfection
It is important to prioritize hygiene when working with nail techniques. This ensures protection against unwanted bacteria and nail diseases. Below is an example of a good step-by-step work routine for hygiene and nail products at home.
Examples of cleaning agents you can use:
- Soapy water for superficial cleaning (e.g., a solution of warm water and dishwashing soap)
- Disinfectant for sanitizing (e.g., Rodalon, Chlorine, Bright Water surface disinfectant, or Super D7)
Before and after nail treatment:
- Wipe surfaces with soapy water. Then use a clean cloth to wipe off the soap.
- Apply/spray disinfectant on the nail table, in the UV/LED lamp, and on the Dust Collector. Wipe over with a dry cloth or paper towel after 15-20 minutes.
- Wash all metal tools with soapy water. Soak the tools in disinfectant for at least 15 minutes. The liquid must cover all the tools 100%. Thoroughly dry the tools (you may rinse the tools with water afterward).
- Rinse files and buffers under running water and let them dry. Then spray them with disinfectant.
Do not store your tools in closed containers or boxes. Bacteria thrive and spread in damp and low-oxygen environments. Closed storage boxes can therefore be a breeding ground for bacteria.
Note that the rules for hygiene, disinfection, and sterilization differ in clinics where specific and stringent requirements are in place.
Preparation and cleaning of brushes
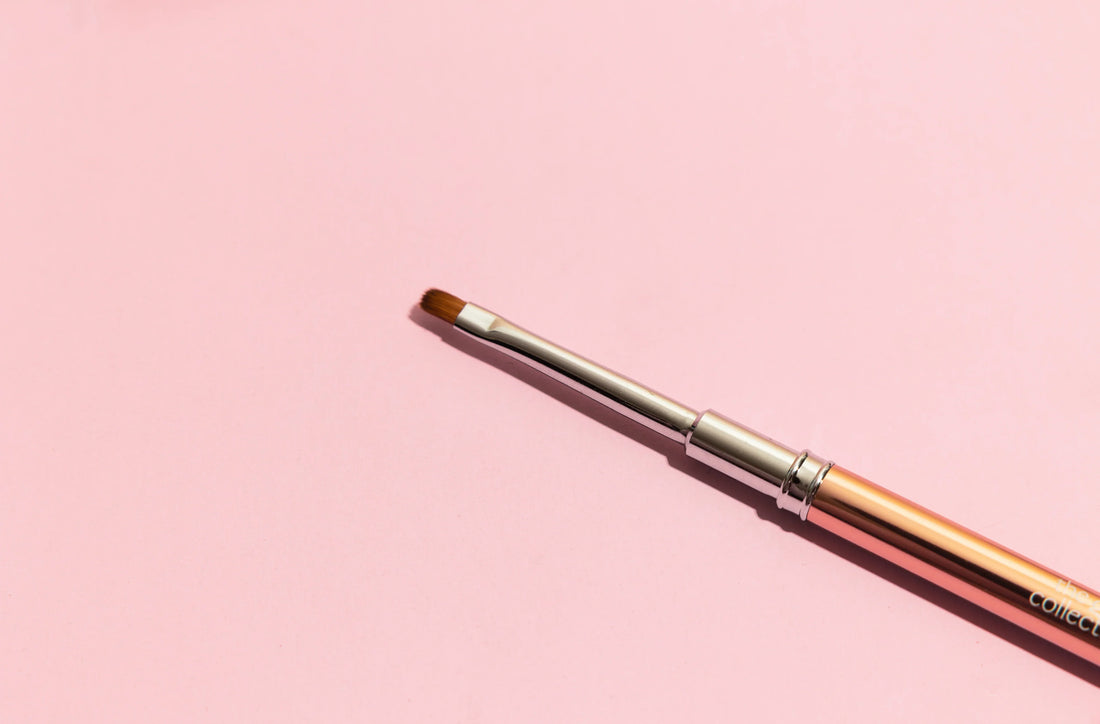
It is important to care for your brushes properly. This makes it easier to work with the brushes and ensures their longevity and good hygiene.
Preparation of new brushes
When you receive a new brush, the bristles will be stiff before first use. The stiffening that covers the bristles must be removed so the bristles become soft before use. The preparation is as follows:
- Start by “breaking” the bristles by gently moving them against a surface.
- Pour Cleaner+ into a Dappen Dish and dip the bristles into the liquid. Gently press the bristles against the edge of the filled Dappen Dish so that all the bristles become saturated.
- Carefully wipe the brush on a Lint-Free Wipe.
Brush preparation before applying product
Builder Gel
Let the bristles glide through a small amount of Builder Gel. Make sure the gel gets between all the bristles by gently spreading the bristles along the edge of the jar. Then scrape off the excess product.
Polygel
Prepare your brush by pouring some Cleaner+ into a Dappen Dish and dip the bristles into the liquid. Then gently wipe the brush on a Lint-Free Wipe, so it's not completely soaked. This should also be repeated during the nail building process with Polygel, so the brush doesn’t stick to the Polygel while you work with it.
Cleaning brushes after use
After normal use, such as applying Builder Gel or Polygel, the brush can be wiped on a dry Lint-Free Wipe and stored with the cap on. The brush will not dry out or harden as this requires exposure to UV light.
If the brush has been used for nail art and needs cleaning from color, it can be wiped on a Lint-Free Wipe with Cleaner+ to remove excess product. Then the brush can be glided through either Top Coat or Base Coat until it no longer releases color. Afterward, store the brush with the cap on.
Storage of nail products and brushes
All UV-curing nail products and their corresponding brushes should be stored in a dark and dry place away from sunlight. This could be a drawer or a cabinet. Ensure that all lids are screwed on properly so that solvents in the products do not evaporate and thicken.
It is recommended to store the products at room temperature to maintain their optimal consistency.
There are no other storage requirements for steel tools, except to avoid storing them in closed boxes. Bacteria thrive and spread, as mentioned, in damp and low-oxygen environments.


